Having an injury is tough, especially when you use that specific joint or muscle in nearly everything you do.
A rehab workout program can be complex. This blog will simplify it for you by breaking down some exercises that may help you recover from a knee injury or knee pain.
The Structural Complexity of the Knee Joint
Your knees possess the remarkable ability to move not only forward and backward but also sideways, thanks to the coordinated efforts of the hips, ankles, and feet. While experiencing knee pain, it's natural to assume that focusing solely on the knee itself is the solution. However, it's important to recognize that the neighboring joints play a significant role in controlling the knee.
Give this a try:
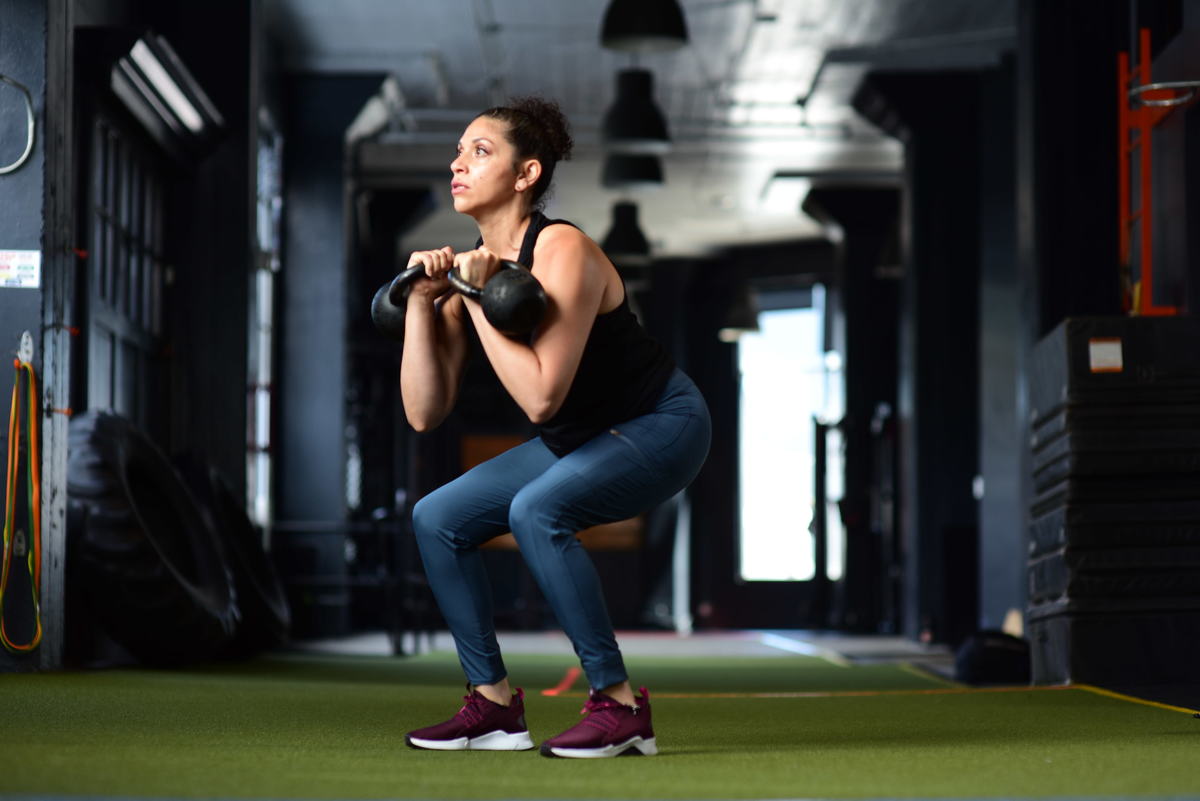
- Assume a squat position and generate outward tension, as if you were attempting to separate the floor beneath you without lifting your heels. Observe what happens to your knees—they naturally turn outward.
- Now, gradually descend into a squat while keeping the tension in your feet. Notice how your hips and glutes engage as you lower yourself.
All these joints work harmoniously, necessitating comprehensive training and rehabilitation to effectively address knee issues. Multiple factors can contribute to knee pain or injury. By enhancing stability and mobility in the surrounding joints and muscles, you can significantly alleviate pain and expedite your recovery, enabling you to return to activities you enjoy.
We always advise consulting with your doctor or physical therapist if you're dealing with persistent knee pain. Remember, pain serves as a signal, and ignoring the underlying cause will only make it worse.
4 Strength and Conditioning Rehabilitation Movements for Knee Pain or Injury
The following exercises can help you develop your neighboring joints and muscles to address your knee pain. They require minimal equipment and can be performed from the comfort of your home gym. Don’t forget to warm up with some dynamic stretches before you start these exercises.
1. Glute Bridges
Aim for 15 to 20 reps, and 3 sets
How To Do Glue Bridges:
- Lie on your back with your knees bent and your heels about 8 inches from your glutes.
- Plant your feet firmly on the ground, hip-width apart.
- Your arms should be by your side, palms facing upward. This is your starting position.
- Inhale through your nose, squeeze your glutes, and activate your abs. Exhale through your lips as you push your hips off the ground, driving your weight through your heels.
- Lift your hips until your body forms a straight line from your shoulders to your knees. Watch your form to ensure that you’re not rounding your spine.
- Check the alignment of your spine to ensure you’re not arching at your low back.
- Squeeze your glutes as hard as you can and hold at the top for 1 to 3 seconds, then slowly lower yourself back down. This is one rep.
Pro Tip:
Laying on an exercise mat can make this move more comfortable on your shoulders and feet.
Progressions:
There are several ways to progress this movement. Some of my favorites include:
- Place a free weight on your hips (try 8 to 15 lb) for added resistance.
- Make it an isometric exercise by holding at the top for 30 to 45 seconds.
- For a more complex movement, hold the glute bridge at the top while you perform YBell floor chest presses. A knee injury might change up your strength training routine, but it doesn’t have to put it on hold.
2. Single-Leg Deadlifts
Aim for 10 to 12 reps on each side, and 3 to 4 sets
How To Do Single-leg Deadlifts:
- Stand tall with your feet hip-width apart.
- Use a loose grip to hold a YBell in your right hand or a double grip if you’d prefer to carry it with both hands. This is your starting position.
- Keep a soft bend in your left knee. Slowly shift your body weight to your left leg and hinge forward at your hips, extending your right leg behind you while lowering the YBell toward your left foot.
- Lift your extended right leg and pitch your body forward until your body forms a “T” shape. Your arms should be hanging straight down. Hold this position for 2 to 3 seconds.
- Contract from both your glute and hamstring to pull yourself upright and lower your extended right leg back to the ground. As you lower, stop before your back or hips come out of alignment. This is one rep.
Pro Tip:
Keep a straight spine throughout the movement, and avoid moving your hips to the sides to keep your body in alignment.
Progressions:
Like the glute bridge, there are many ways to progress this movement. My favorite progression is with weight. You can start this movement with no weights, then add in a single Small YBell, and ultimately progress to two YBells. When using weights, you’ll need to keep your shoulders pitched towards the spine to avoid rounding your spine.
3. Heel Taps
Aim for 12 to 20 reps on each side, and 3 to 4 sets
How To Do Heel Taps:
- On a riser or staircase, stand sideways so that your right leg is on the step and your left leg is hovering off. Keep a tall, straight spine.
- Your right knee should be stable over the middle of your foot, which should stay firmly planted for the entire movement. If needed, hold onto the wall or railing for additional balance support. This is your starting position.
- To initiate this movement, sit your hip back while keeping the weight of your body through your right heel, and lightly tap your hovering left heel on the ground or step below.
- It’s crucial only to tap your heel and keep the tap light.
- Push through your right heel and use your gluteal and quad muscles in your right leg to raise yourself back up to the standing position. This is one rep.
Pro Tip:
The goal of heel taps is to strengthen your glutes, quads, and overall knee stability. It’s vital to start slow to ensure you’re performing the movement correctly and without pain. If the step is too high or causing pain, add a book to the step below to decrease the height of the tap.
Progressions:
Some of my favorite ways to make this movement more challenging include:
- Add more height to the tap by choosing a taller riser or adding a book to the step you’re standing on.
- Add an isometric hold at specific points in the movement, such as mid-way through lowering down for the tap.
- Add a YBell in the front rack grip position (holding at your shoulder/chest) on the side that is doing the heel tap. This crossbody resistance will challenge and improve your hip and core stability, which are needed to help recover and prevent future injury.
Heel taps are great mobility exercises for athletes at any fitness level but are especially critical for rehab. If you’re a runner, they’re also a great pre-hab exercise to add to your fitness routine.
4. Lateral Walk
Aim for 15 to 20 reps in each direction or a total of 1 minute, and 3 to 4 sets
How To Do a Lateral Walk:
- Stand with your feet hip-width apart and your toes pointed forward with a slight bend in your knee.
- Push your hips back slightly as if you are about to squat down. This is your starting position.
- Step to your right with your right foot, followed by the left foot. Repeat for 5 steps to the right, then step left back to your starting position. This is one rep in each direction.
Pro Tip:
Always ensure your toes are pointing forward and your feet only come back to hip-width apart when you step back in. It’s common for people to allow their feet to go almost entirely back together.
Progressions:
Here are three common progressions you can try with lateral walks:
- Add a resistance band around your knees. Start with low resistance, but feel free to increase it if you can do so without pain.
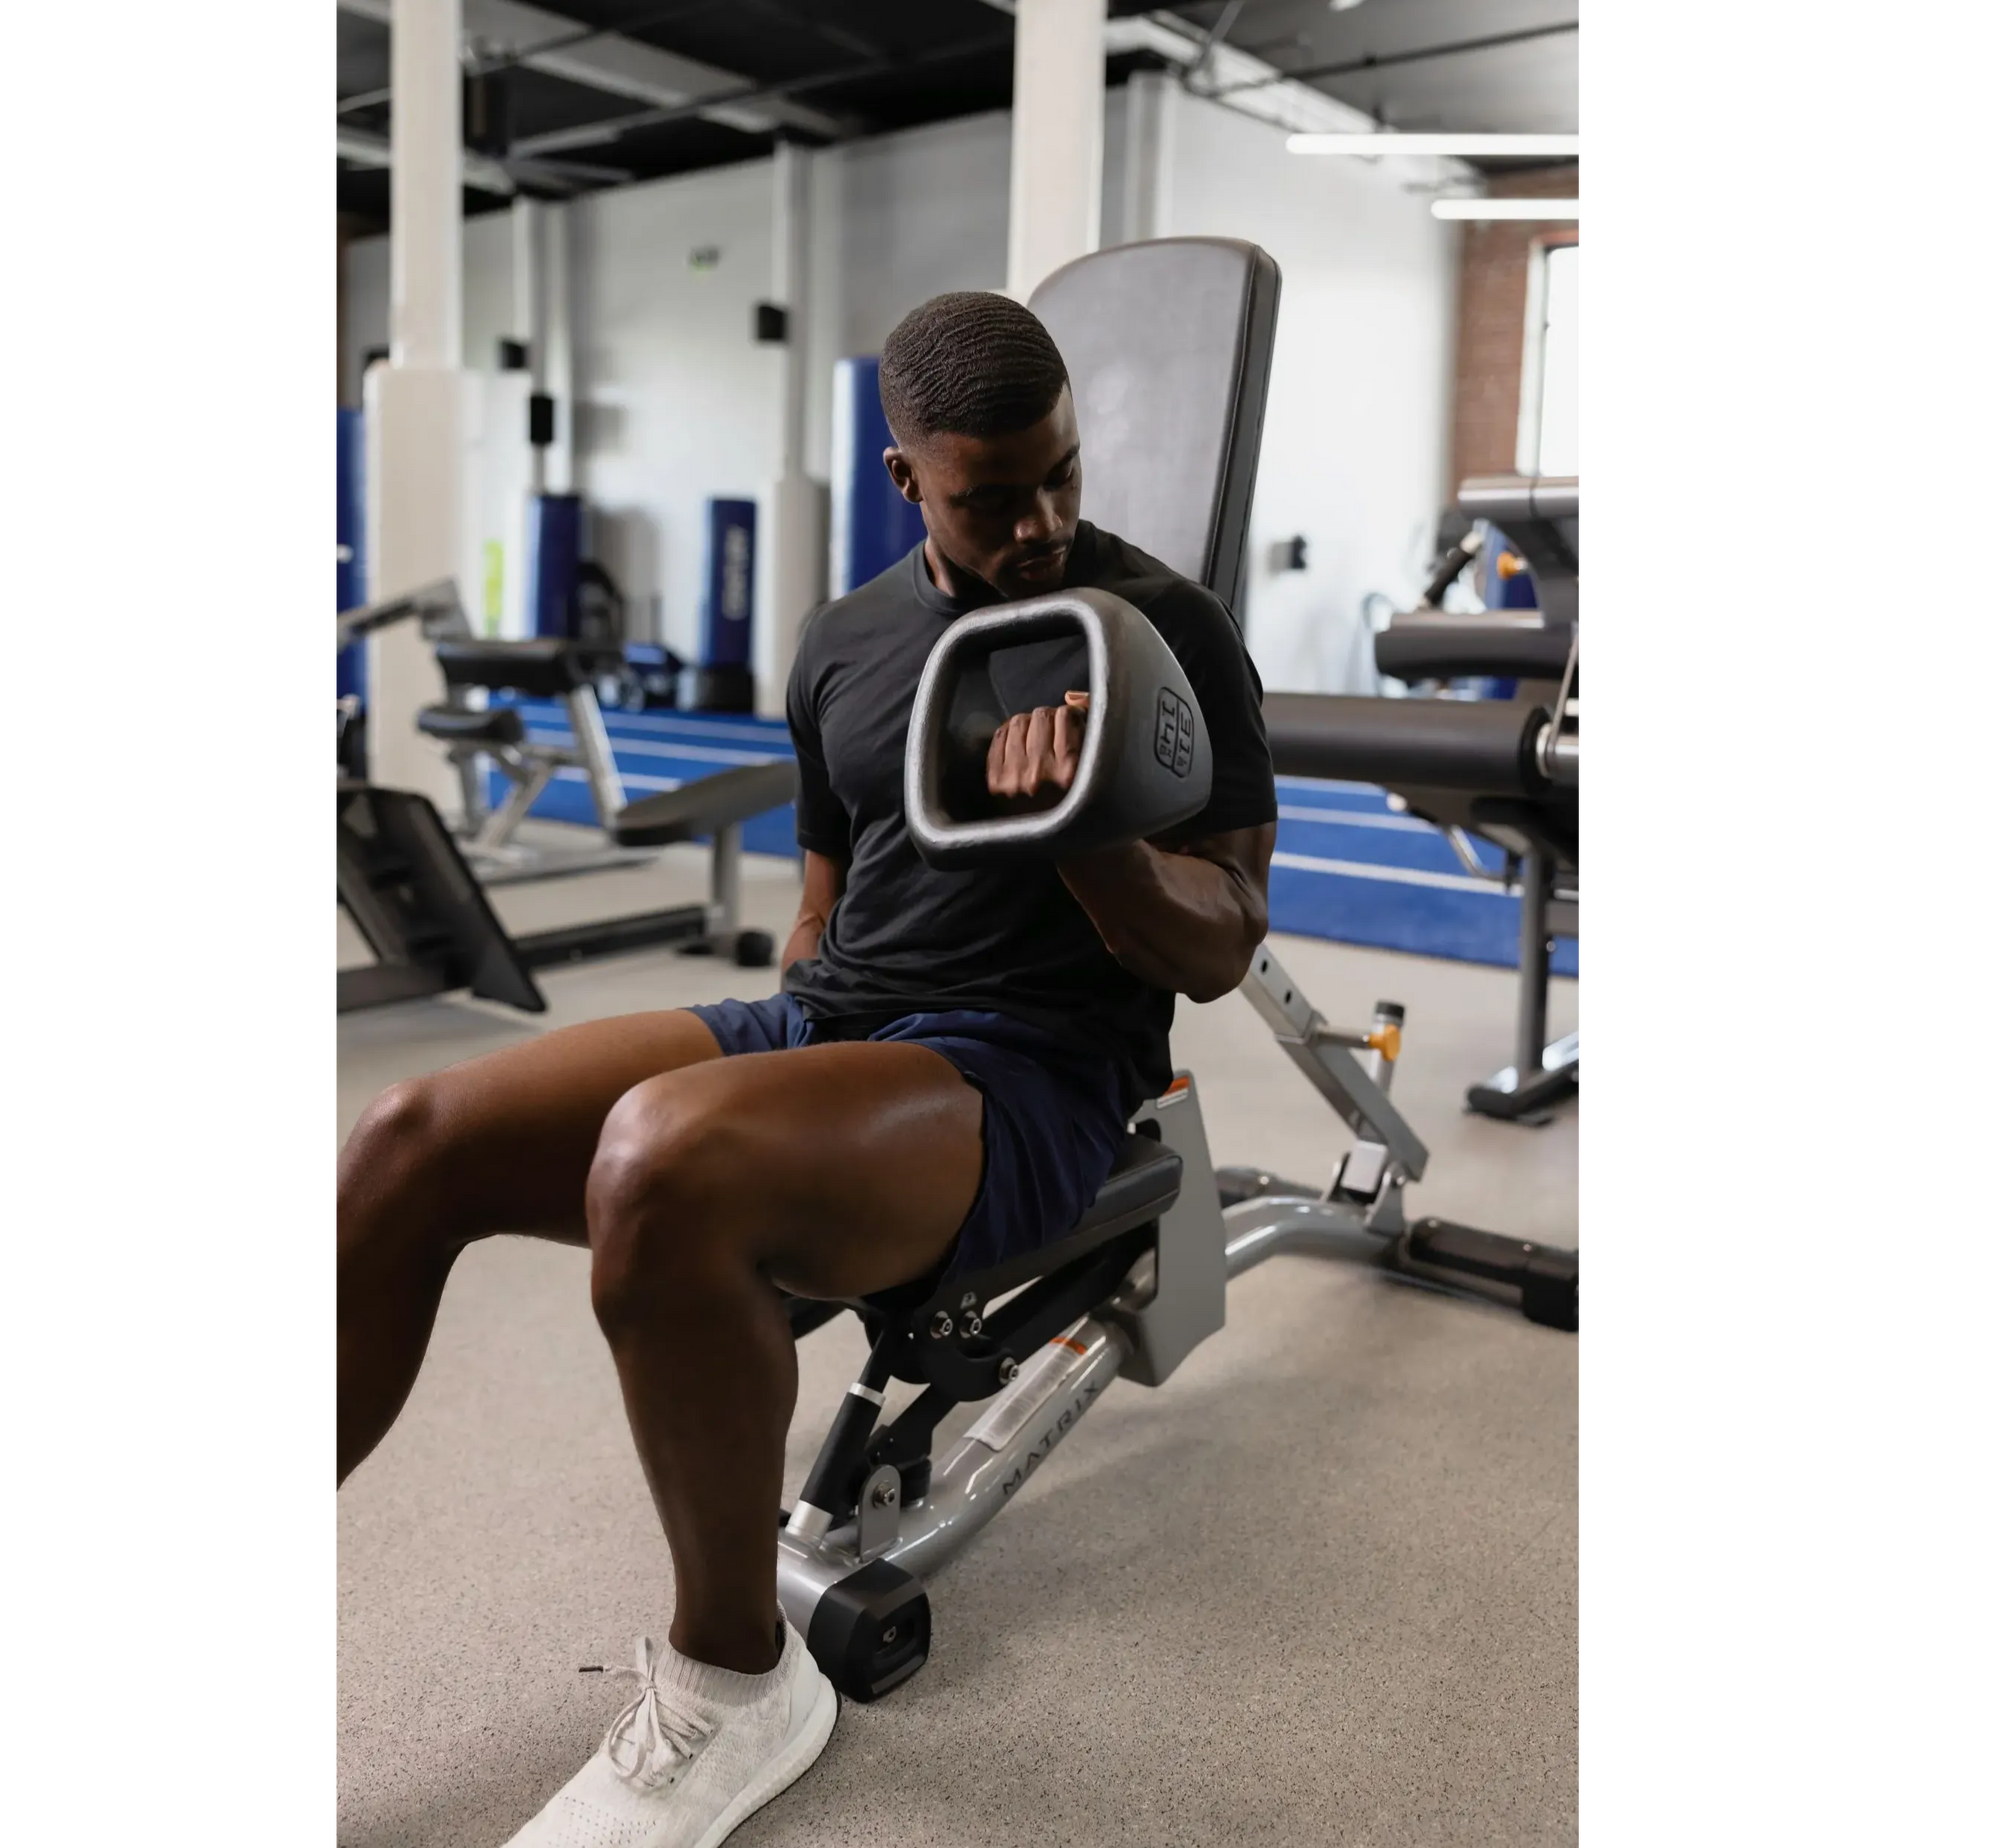
- Add weight by holding a YBell up to your chest with a rack grip or top lock grip (like you’re performing a dumbbell bicep curl), keeping it close to your body.
- Push your hips back further to dip into a squat-like position and remain low for the entire movement.
If you consistently work on strengthening your hips, glutes, ankles, and feet, you’ll progress quickly to heal your knee injury. Remember to always listen to your body and don’t move into pain.
Take these movements at your own speed. Focus on quality movements, not quantity. When you feel like a particular movement is no longer challenging to perform (roughly a 6 out of 10 on the difficulty scale), consider adding in the progressions provided, but only one at a time.
Injuries can cause a change to your fitness routine, but the silver lining is that with proper functional and mobility training, you’ll be stronger in the long run.


