If you’re hoping to enlist in the Air Force, it’s never too soon to prepare for the Air Force Basic Military Training (BMT). Mental and physical training will be critical to your success at BMT, which will push you to new limits.
The sooner you begin conditioning your mind and body for the rigors and discipline required for basic training, the better your chances of making it through the program. Below we’ll discuss the AF physical fitness test (PFT) requirements as well as the exercises you’ll need to prepare for the PFT.
And for those considering enlisting in the Space Force, the AF PFT guidance is the current standard for enlistees.
The Air Force Physical Fitness Test Standards
The benchmarks for physical fitness tests vary depending on factors such as gender, age, and weight. These standards are established to ensure individuals are capable of meeting the physical demands of military duty. During Basic Military Training (BMT), you will engage in physical conditioning six days a week, typically alternating between cardio training and strength training.
In May 2021, the Air Force introduced updates to their physical fitness test and scoring system, aiming to “move away from a one-size-fits-all approach.” These changes are scheduled to come into effect in January 2022.
According to the Air Force press release, Airmen will have the option to choose between the traditional 1.5-mile run, 1-mile walk, or the High Aerobic Multi-shuttle Run (20M HAMR) to fulfill the cardio requirement. For the strength component, individuals can choose between traditional push-ups or hand-release push-ups, as well as select from sit-ups, cross-leg reverse crunches, or plank exercises to complete the comprehensive fitness assessment.
The new PFT scoring is:
- Core strength — 20 points
- Sit-ups, cross-leg reverse crunch, or plank
- Upper-body strength — 20 points
- Push-ups or hand-release push-ups
- Cardio — 60 points
- 1.5-mile run, 1-mile walk, or 20m HAMR
You should reach out to your recruiter for more information on preparing for your fitness standards and the body composition assessment. In addition, speak to your doctor to ensure that you’re adding this rigorous physical routine in a healthy way.
5 Exercises for the Air Force PFT Strength Requirements
You’ll need to master these fundamental exercises to pass your Air Force PFT upper-body and core strength requirements. Using proper form in each exercise and increasing your overall endurance will be critical to meeting the physical fitness standards.
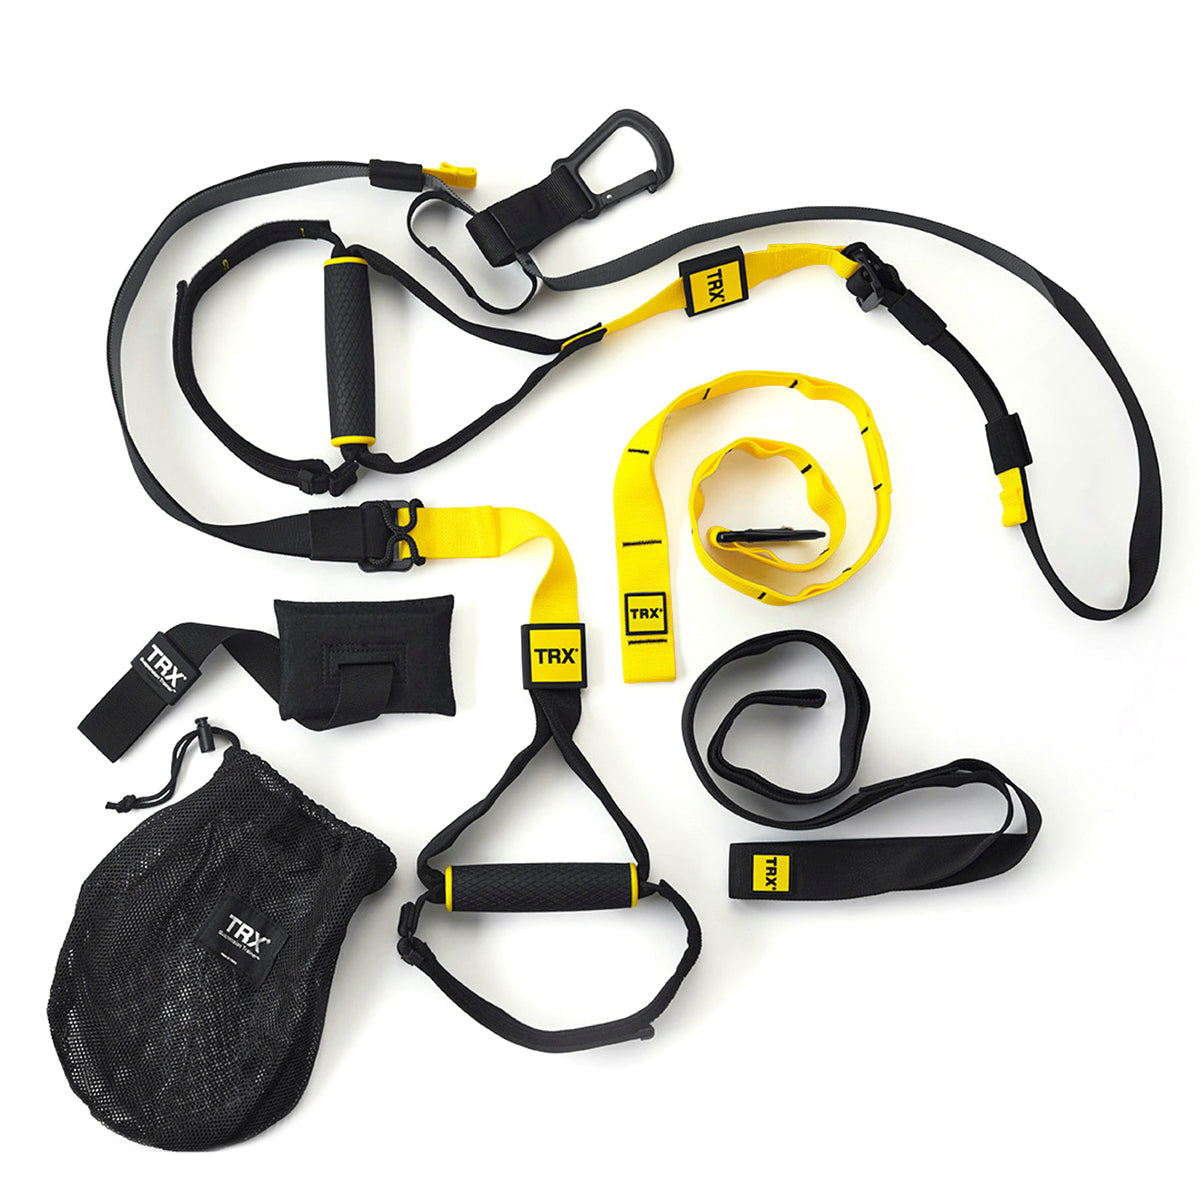
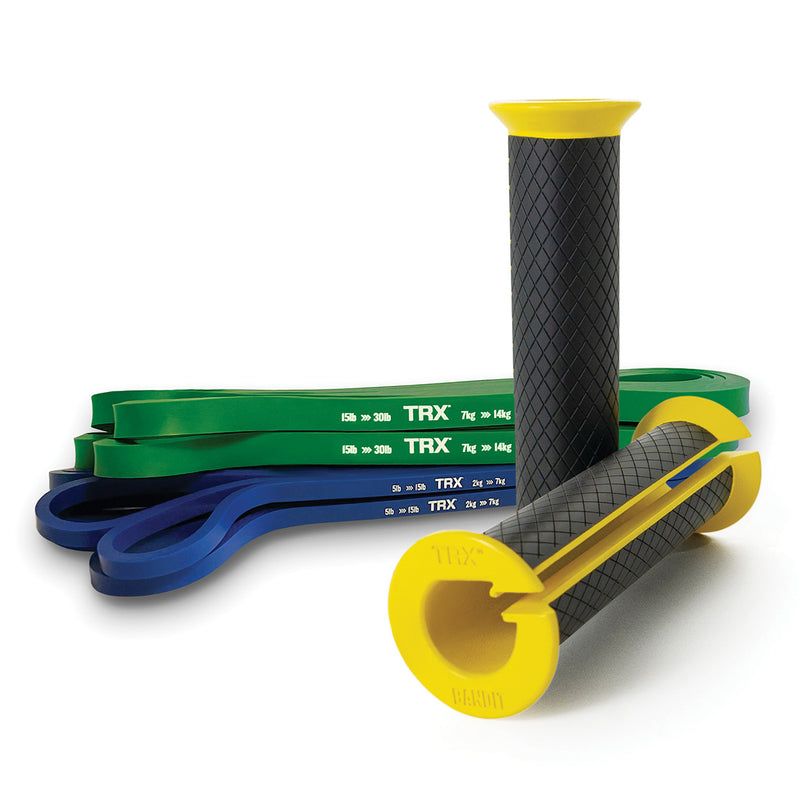
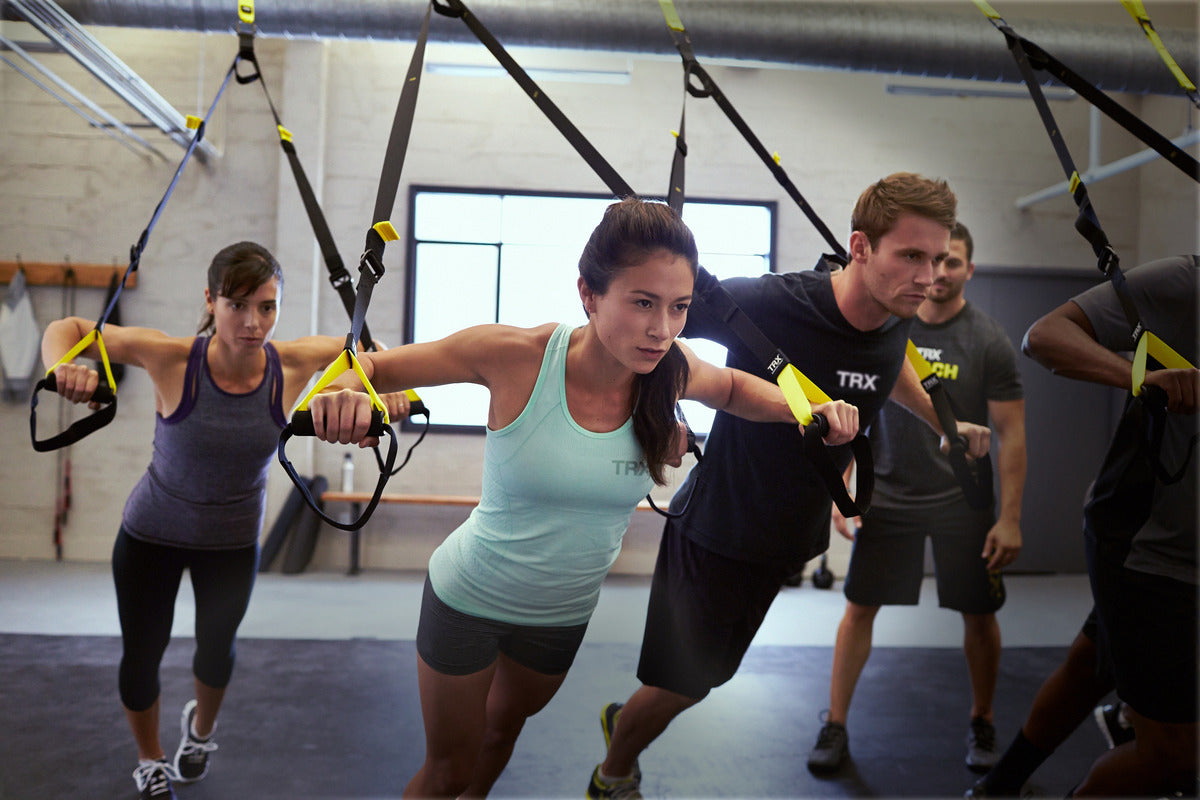
Here's some of the gear we'll use:
1. Push-ups
Push-ups are a great compound exercise that involves multiple joints and muscle groups, including your deltoids, pectoral muscles, triceps, biceps, gluteal muscles, and spinal erectors.
The push-ups portion of the PFT will account for 20 points and are used to measure your upper-body strength, which is needed to lift and carry equipment and perform dynamic movements as part of the duties of an Airman. Your age and gender will determine the number of push-ups you’ll be required to complete in one minute.
How To Do a Push-up with Proper Form:
- Get on the floor on all fours, starting from a high plank position. Your hands should be flat on the ground, slightly further than shoulder-width. Your feet should be hip-width apart.
- Your elbows should be slightly bent, and your body should form a straight line from your ankles to your head. This is your starting position.
- Contract your abdominal muscles and tighten your core.
- Inhale as you bend your elbows and lower your body until your elbows reach a 90-degree angle and your chest nearly touches the floor.
- Exhale as you engage your core and push up through your hands, returning to your starting position. This is one rep.
Pro Tips:
- Be sure to keep your body in a straight line throughout the entire movement. Many people tend to arch their back or bend their neck down.
- Avoid locking your elbows at the starting position, which can lead to strain on your joints and potential injury.
- Most importantly, keep proper form to ensure that you’re engaging your core rather than relying on momentum when pushing up from the ground.
2. Hand Release Push-ups
The hand release push-up is a variation where you lift your hands off the ground between reps. Because you can’t use any momentum from the previous rep, it has the added challenge of force production from the ground. Lifting your hands also stretches your core and adds more range of motion for your arms.
This exercise emphasizes keeping quality in your form in two ways — it allows your muscles to relax between reps and requires you to know the correct position to begin each rep from. When done correctly, hand-release push-ups recruit your pectoral muscles, which are vital in pressing movements.
How To Do a Hand Release Push-up with Proper Form:
- Get on the floor on all fours, starting from a high plank position. Your hands should be flat on the ground, slightly further than shoulder-width. Your feet should be hip-width apart.
- Your body should form a straight line from your ankles to your head, and your elbows should be slightly bent. This is your starting position.
- Contract your abdominal muscles and tighten your core.
- Inhale as you bend your elbows and lower your body until your elbows reach a 90-degree angle and your chest, stomach, and quads touch the ground.
- Retract your shoulder blades and lift both hands off the ground, hovering about 3 inches off the floor.
- Place your hands back on the ground, shoulder-width apart. Exhale as you engage your core and push up through your hands, returning to your starting position. This is one rep.
Pro Tips:
- Don’t forget to stretch beforehand. This will help you increase your range of motion for the hand release.
- Avoid rushing when retracting your shoulder blades. Retraction is an essential part of the exercise that works your pectoral muscles, which are great for developing your posture.
Advanced Option with Free Weights:
If you’re looking for another push-up variation that removes momentum between reps but also adds in weights, consider trying YBell push-up rows with a set of YBell Pro Series weights.
3. Sit-ups
Sit-ups are a great exercise for boosting your core strength, stability, and control. Because doing a proper sit-up requires controlling each spinal vertebrae’s movement, it can also increase your spinal flexibility when performed correctly. Sit-ups also give you better definition in your abs while targeting your hip flexors and lower back muscles.
The sit-up portion of the fitness test will account for 20 points. Enlistees and Airmen must perform sit-ups to ensure they have core strength for balance, dynamic movements, and the physical strength necessary for service. Your age and gender will determine the number of sit-ups you’ll be required to perform in one minute.
How To Do a Sit-up with Proper Form:
- Lie on your back with a 90-degree bend in your knees and feet flat on the floor.
- With your fingertips behind your ears, bend your arms with your elbows pointing outward. This is your starting position.
- Inhale and engage your core by drawing your belly button toward your spine. Use your abdominal muscles to lift your torso off the ground in one smooth motion. Your hips should remain still, and your feet should stay flat on the floor throughout the movement.
- Exhale, and control your return back down to the starting position. This is one rep.
Pro Tips:
- Don’t use your arms to pull your head up or craning your neck forward. Not only does this strain your neck, it also takes the pressure off your core.
- If you’re struggling with keeping your feet flat on the ground, you can start by tucking your feet under a couch or with some other brace. However, for complete core strengthening, you should work on performing sit-ups without a brace.
4. Cross-leg Reverse Crunches
Crossed-leg reverse crunches are a phenomenal exercise for improving your core strength, especially your rectus abdominis muscle and obliques. This exercise targets your hip muscles and is excellent for developing muscular balance. While this is a bodyweight workout that you can do from your home gym, it helps to have a fitness bench or other heavy object you can hold on to.
How To Do a Cross-Leg Reverse Crunch with Proper Form:
- Lie flat on your back with your knees bent and feet flat on the floor.
- Cross your left ankle over the top of your right knee.
- Put your arms overhead, holding onto a sturdy object (weight bench, table, etc.). This is your starting position.
- Inhale as you engage your core and curl your pelvis toward your chest in one smooth motion. Lift your legs as close to your chest as possible while keeping the cross-legged posture. This movement will curl the base of your spine and lift your buttocks off the ground.
- Pause at the top of the movement.
- Exhale while slowly returning to the starting position. This is one rep.
Pro Tips:
- Brace your core throughout the entire exercise, and avoid using your legs for momentum.
- Keep your head straight while your neck and shoulders remain relaxed and flat on your exercise mat.
Advanced Option with Weights:
If you’re looking for another sit-up variation that adds weights, consider trying the YBell Crunch Extend using a single YBell.
5. Planks
Planks are often used in core strength and muscle control tests, as it’s an excellent exercise to prove your stability, balance, and power. While planks are mostly known for providing a striking abdominal physique, they’re a true testament to your spinal and core strength. Planks also target your shoulder muscles, triceps, glutes, and quads.
How To Do a Plank with Proper Form:
- Get on the floor on all fours. Your elbows should be directly under your shoulders with your forearms facing forward. Plant your hands slightly wider than shoulder-width apart (the same as your starting position for a push-up).
- Engage your abdominal muscles by drawing your belly button toward your spine and squeezing your glutes to stabilize your body.
- Your body should form a straight line (like a plank of wood) from your ankles to your head. Keep your neck and spine neutral and your head in line with your back. This is a neutral spine position.
- Ground your toes into the floor, and be sure not to lock or hyperextend your knees.
- Hold the position for 20 seconds. Take steady breaths, inhaling through your nose and exhaling through pursed lips.
- Work up to 20, 30, 60 seconds, or more without sacrificing your form as you practice and become more comfortable with this move.
Pro Tips:
- Breathe rhythmically for the duration of your plank. It might be easier to hold your plank by your breaths rather than a timer. Try holding for 10 breaths in and 10 breaths out before you release the position.
- Don’t allow your back to arch up or your belly to sink, as that will disengage your core and put more weight and stress on your arms and wrists.
- Keep your eyes trained on the floor to avoid tilting your head up, which will cause strain on your neck.
Training Options for the Air Force PFT Cardio Event
The cardio portion of the PFT will account for 60 points and is used to ensure that you possess the cardiovascular endurance needed for military service. Your age and gender will determine the time required for your 1.5-mile run, 1-mile walk, or 20m HAMR. The 1-mile walk and 20m HAMR will also be scored based on computing your VO2 max.
1. Training for the Timed Run or Walk
If you’re new to distance running or endurance cardio, your training will require a mix of endurance running, sprinting, speed work, and easy runs for muscle recovery. You should also work on your running technique for proper form with each run.
You must know your time requirement for the PFT to set your pace goals. Ex: if you need to run 1.5 miles in 12 minutes, then you should have an 8-minute mile pace goal or a 4-minute half-mile pace goal.
Consider trying the workout below to ladder up your training for your 1.5-mile run or 1-mile walk test. Remember to allow for rest days each week and training days where you focus on strength or interval training.
Week 1:
- Day 1: 1.5-mile timed run for an initial assessment
- Day 2: 1-mile endurance run
- Day 3: No running, focus on strength or interval training
- Day 4: 1-mile endurance run
- Day 5: 1-mile easy run
- Day 6: 1-mile endurance run
- Day 7: Rest
Week 2:
- Day 1: 1.25-mile endurance run
- Day 2: 1.25-mile easy run
- Day 3: 1.5-mile sprint day with quarter-mile pace goals
- Day 4: No running, focus on strength or interval training
- Day 5: 1.25-mile endurance run
- Day 6: 1.25-mile easy run
- Day 7: Rest
Week 3:
- Day 1: 1.5-mile timed run to assess your pace
- Day 2: 1.5-mile sprint day with quarter-mile pace goals
- Day 3: 1.5-mile easy run
- Day 4: No running, focus on strength or interval training
- Day 5: 1.5-mile sprint day with half-mile pace goals
- Day 6: 1.5-mile easy run
- Day 7: Rest
Week 4:
- Day 1: 1.5-mile endurance run
- Day 2: 1.5-mile easy run
- Day 3: 1.5-mile sprint day with half-mile pace goals
- Day 4: No running, focus on strength or interval training
- Day 5: 1.5-mile endurance run
- Day 6: 1.5-mile sprint day with half-mile pace goals
- Day 7: Rest
2. Training for the High Aerobic Multi-shuttle Run (20M HAMR)
The high aerobic multi-shuttle run (20m HAMR) is a PFT cardio alternative to the 1.5-mile run, which tests for agility, balance, and coordination, which some feel relates closer to necessary combat skills.
The 20m HAMR consists of running between two lines that are 20 meters apart along with timed beeps. You’ll stand behind a line and run to the other line when you hear a beep. When you reach the other line, you’ll turn around and begin running when you hear the following beep. Times will shorten roughly every minute, requiring faster speeds.
Training for the 20m HAMR should consist of paced running, interval training, and 180-degree pivots for agility. Here are a few training tips:
Paced running:
Your goal should be to increase your pace each week.
- Start with a 10-minute warm-up with stretches
- Run for 15 minutes at a steady pace
- Cool down for 5 minutes with dynamic stretches
Interval training:
Over time, you should be able to increase your pace for the hard sprint, as well as your ability
- Start with a 10-minute warm-up with stretches
- Run for 30 seconds at a hard sprint, followed by 30 seconds of walking
- Repeat the sprint/walking intervals 10 times
- Cool down for 5 minutes with dynamic stretches
The changes to the Air Force PFT are expected to have positive outcomes for enlistees who have prior sports or athletic backgrounds in functional fitness. Remember that the Air Force has different requirements for entering BMT and graduating from training. Preparing for these requirements will help you in your Air Force career.
P.S. preparing for the Air Force Physical Fitness test Standards means you'll need to master a variety of exercises. Try TRX Training Club today and get access to hundreds of workouts from certified professionals.


